Mastering the Gauntlet of Shar in Baldur’s Gate 3
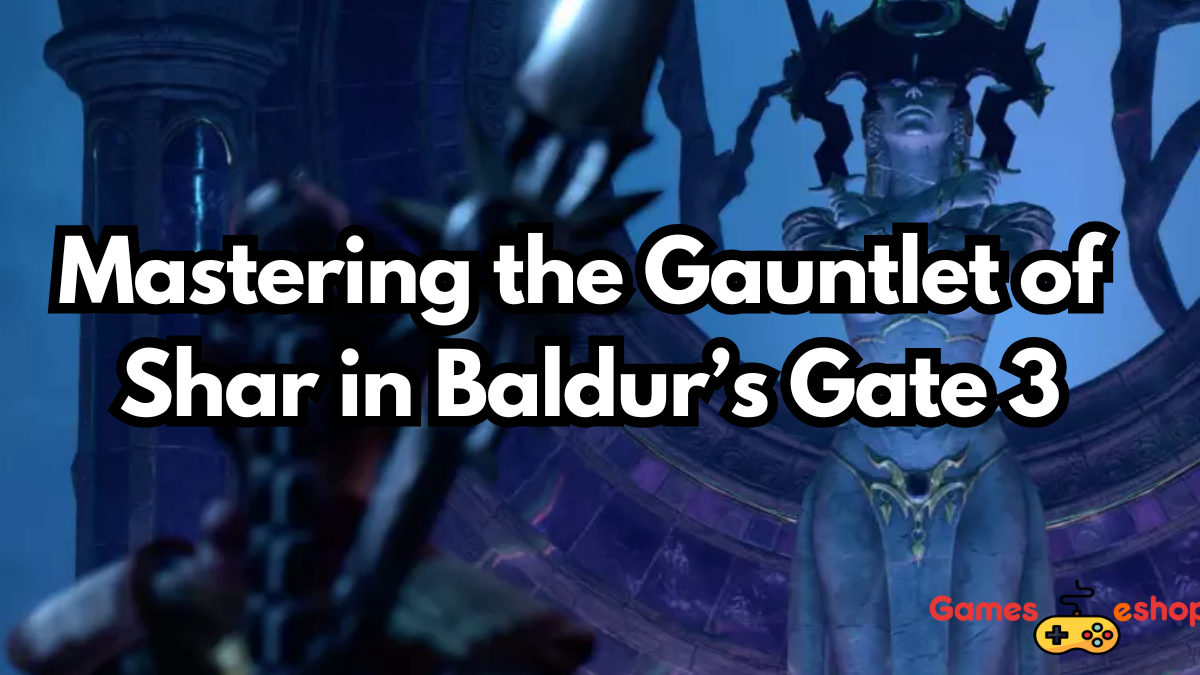
Are you ready to tackle one of the most thrilling and mind-bending challenges in Baldur’s Gate 3? The Gauntlet of Shar is a test of wit, patience, and strategic prowess that will push your skills to the limit.
But fear not! This guide will take you step by step through the trials, puzzles, and difficult decisions you’ll face in the Gauntlet of Shar, ensuring you have everything you need to conquer this formidable challenge.
Finding the Gauntlet of Shar
Before you can take on the trials, you must first locate the Gauntlet. This daunting dungeon is hidden within the Thorm Mausoleum in the Shadow-Cursed Lands.
How to Get There
- Head West: Start your journey by heading west from the Masons Guild.
- Look for Arabella: Near a gate, you will find Arabella, who will trigger a related quest.
- Travel North: After speaking with her, continue north until you find a large building.
- Go Northwest: Take a left turn and move northwest.
- Find the Stairs: Look for a set of stairs leading up and follow them to the entrance of the Thorm Mausoleum.
Once inside, prepare yourself for the first challenge—a tricky puzzle that holds the key to unlocking the Gauntlet.
Solving the Mausoleum Puzzle
Upon entering the Mausoleum, you’ll be greeted by three murals with buttons beneath them. Your goal is to press these buttons in the correct order to reveal two hidden doorways.
Steps to Solve the Puzzle
- Interact with each mural by pressing the button beneath it.
- Ensure the murals light up in the correct sequence.
- If done correctly, two secret passages will open.
- Locate the Traversal Gem on a raised platform and claim it.
- Use the Traversal Gem to access the Gauntlet of Shar.
Congratulations! You are now ready to enter the Gauntlet and face its many dangers.
The Statue Puzzle – Embracing the Darkness
As you venture deeper into the Gauntlet, you will encounter a mysterious statue puzzle with a cryptic clue: “The answer lies in darkness.”
How to Solve the Statue Puzzle
- Explore the side rooms to locate lanterns and levers.
- Disable the lanterns by pulling the levers to plunge the room into total darkness.
- Once in complete darkness, the hidden runes on the floor will become visible.
- Follow the path revealed by the runes to unlock the next section.
This puzzle tests your ability to think outside the box, as manipulating light and shadows is crucial to progress.
Completing the Gauntlet Trials
The Gauntlet consists of three main trials, each requiring different skills:
- Soft-Step Trial – A stealth-based challenge where you must avoid shadows and traps to claim an Umbral Gem.
- Self-Same Trial – A combat challenge where you must defeat shadowy clones of your party members.
- Faith-Leap Trial – A leap-of-faith puzzle where you must step on the correct invisible platforms to reach another Umbral Gem.
By successfully completing these trials, you will unlock crucial elements needed to progress further into the Gauntlet.
How to Handle Balthazar?
During your exploration, you will encounter Balthazar, a powerful and enigmatic character. You have two choices: ally with him or fight against him.
| Choice | Outcome |
|---|---|
| Help Balthazar | Gain a special bell that summons Flesh, a powerful ally in battle. However, this decision will turn Shadowheart against you, impacting her storyline. |
| Fight Balthazar | Earn valuable experience points and potentially acquire rare loot. However, you will lose out on the assistance of Flesh in future battles. |
Your decision will have significant consequences on your journey, so choose wisely.
How to Deal with Yurgir?
Another key character you will face in the Gauntlet is Yurgir, a dangerous warrior with his own agenda. Once again, you must choose between helping or fighting him.
| Choice | Outcome |
| Help Yurgir | Complete his contract, which may impact Astarion’s storyline and prevent him from learning about the markings on his back. |
| Fight Yurgir | Engage in a tough battle but gain significant experience and loot, including the Justiciar’s Greatshield and Scimitar. |
If you choose to fight, be prepared for a difficult battle as Yurgir has a strategic advantage with high-ground attacks and explosive bombs.
Hidden Secrets in the Gauntlet of Shar
The Gauntlet is filled with hidden treasures and secrets waiting to be discovered. Here are some key hidden elements to look out for:
- Statue Puzzle Secret: Lower and extinguish all eight lanterns to reveal a hidden path.
- Umbral Gem Locations: Search side rooms and solve puzzles to collect them.
- Raphael’s Old Enemy: Convince Yurgir to help you obtain an Umbral Gem.
- Hidden Loot: Keep an eye out for trap-protected chests containing powerful gear.
Exploring every nook and cranny will ensure you don’t miss out on these valuable rewards.
Tips for Success
- Study Each Puzzle: Rushing in can lead to costly mistakes.
- Utilize the Right Companions: Having Shadowheart or Astarion in your party provides valuable insights.
- Stock Up on Supplies: Bring plenty of trap disarm kits and healing potions.
- Experiment with Lighting: Many puzzles require manipulating light and shadows.
- Save Often: Some challenges can be brutal, so saving frequently can help.
FAQs
1. What is the Gauntlet of Shar in BG3?
The Gauntlet of Shar is a dungeon filled with puzzles and trials that test your problem-solving and combat skills. It is a crucial part of Baldur’s Gate 3 in Act 2.
2. Where can I find the Gauntlet of Shar?
It is located within the Thorm Mausoleum in the Shadow-Cursed Lands, west of the Masons Guild.
3. What should I bring to the Gauntlet of Shar?
Having Shadowheart or Astarion in your party is beneficial. Also, stock up on healing potions and trap disarm kits.
4. How many puzzles are there in the Gauntlet?
There are five major puzzles you need to solve, including the Statue Puzzle, Soft-Step Trial, Self-Same Trial, and Faith-Leap Trial.
Mastering the Gauntlet of Shar is no easy feat, but with patience and strategic planning, you will emerge victorious. Happy adventuring!
Click here to learn more


